On MarkDown Learning, Tutorial, and Editors
This started as a reply in my Fediverse account:
@joaopinheiro@libranet.de And I came back, on a quiet moment to read your new blog page. Very nice – I really enjoyed it, and think it can be useful to other people as well.
Same as you, I first learned about MarkDown upon getting started with blogging – using the Write.Freely software, which is the free open source version of the Write.as blog.
Both Write.Freely and Write.as are superb tools for writers – as they were designed to simplify things, avoiding the complications and excess luggage that the major blog platforms (WordPress, etc) have.
I love working in the Dark Theme screen of my WF blog editor. A black screen and crisp white text, me and my words, no distractions.
We both owe @matt@write.as a big thank you, as the creator of this project.
After starting typing the reply above, I thought I could write a blog response page.
On getting started in MarkDown
I was lucky, as things go – to stumble upon a post at Todon.nl, with a pointer to a blog page talking about an interactive MarkDown Tutorial. Both the blog page and the tutorial linked were in Spanish, which I do have a degree of fluency on.
And better yet, upon visiting the MarkDown Tutorial site, I realized it has the same content in English, French and Spanish – serving many people at once.
Same as my friend João, I have worked many years in Education, love reading and writing, and also think great documentation is an incredible asset for any project.
This tutorial was impressive, I started into it and worked thru the lessons. In each you are introduced to a small concept, like how to apply Bold formatting. Then you have a small practice exercise, where you type in the text with the needed commands (for Bold, it's either ** or __ , both work. Asterisks are easier so I use them).
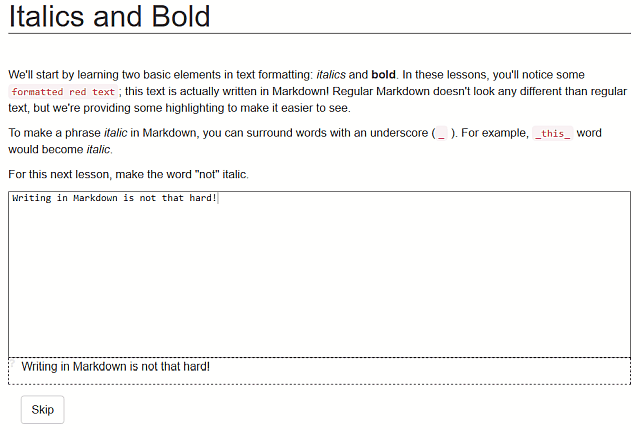
Until your typed command can produce the same text output as the example above, the tutorial will not show you the next section, so you work at it, focused, and not scanning and skimming the content. Points here for focusing and avoiding distractions.
Once your text matches the example, the next section is disclosed. And so on. When a full lesson is complete, you will have learned quite a bit, and I jumped straight into my blog editor to try out these new commands. The best way to store new knowledge, practice until it becomes natural.
Honestly – I think this tutorial is the best example of technology applied to education and learning that I have seen so far. That good, and I have taught Computer Tech and Networking at the high school level for many years.
A personal note:
The project's Git hub page has a topic with a list of all the needed files to create a translation to a new language. Currently offered in 6 languages, up from the 4 we had last year.
Can I make a Portuguese (Brazil) version? · Issue #75
MarkDown Editors, the quest
I enjoyed reading João's most recent page, detailing his needs and wants for a markdown editor package. They make sense, I use very similar criteria for finding good software when I need it.
Small and simple, efficient and fast are best. Eye candy, I am not interested in. Free is best if possible, and since there's so much great software created by the open source free software communities, there are many options.
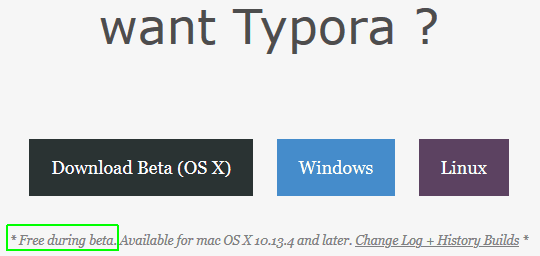
I tried a few tools. Typora, which João also tried, had a temporary free license during its Beta development period, but eventually would become a paid product.
Other Free Editor alternatives?
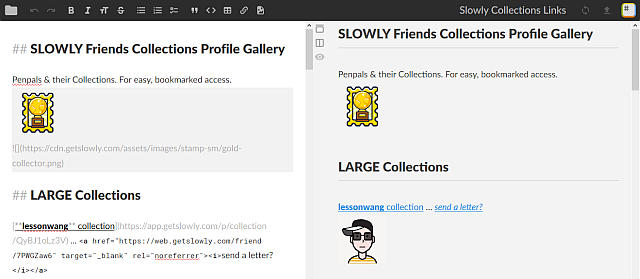
I used the StackEdit in-browser app João also tried and liked. I still have it, and have some simple files saved there. Here's a screenshot – it has two panes, one with the MD raw code, and the other one a Preview pane. You can turn off the preview, and have more space for editing, or work in visual mode directly.
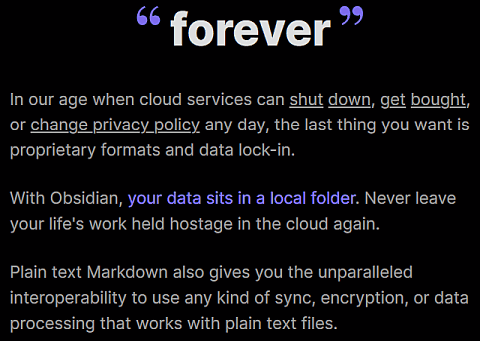
More recently I found another package called Obsidian, which had some good comments in a Reddit thread about MD editors. I downloaded and installed it. but never went deeper. But it has interesting points !
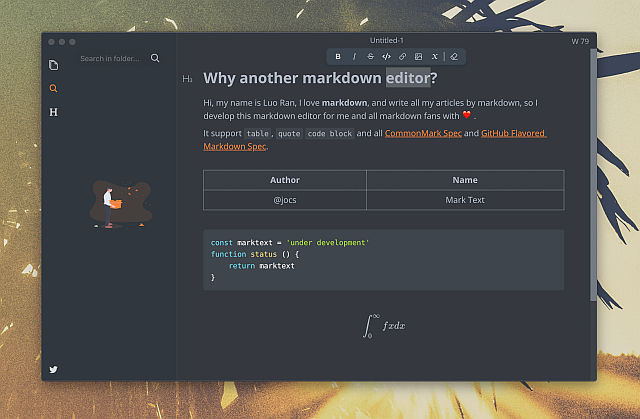
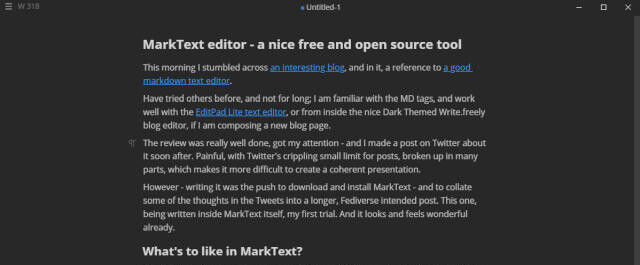
I used a couple of other ones for short test periods, but none was striking and clearly a solution for me, until I found MarkText, which is wonderful.
My fist testing with it quickly evolved from a Fediverse instance post, to a full blown Blog page as I used and got comfortable with it. I wrote the page showing my impressions and findings.
And the tools I use for Blog production
I started an year ago exactly, in early December, with the first real blog page dating around mid December, 2019.
Being new to the platform, I tried a couple of different instances and still have accounts at Write.as, and a few others. The first place I could see one of my test pages federating (showing up in my own Fediverse account, where announcements of new posts arrive), the first instance which successfully federated my early test posts was the one I chose for my new Tech blog – TeDomum.net, which is maintained by a French cooperative organization offering many other services.
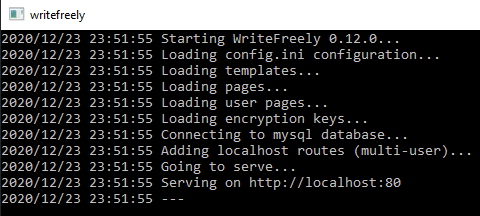
At first I worked in the instance's Blog editor. Soon I found out it was possible to install and run a small, personal, private instance of Write.Freely, and that was intriguing...
This is by all means a geeky thing, for those of us who like tinkering and figuring out things. Almost everyone will be happy using the normal editor at a public, free Write.Freely instance. Getting started this way would be ideal for anyone new to the platform.
Entering into a personal instance adventure
Write.Freely is produced with versions for Linux, Mac OS and Windows. I use and enjoy Windows 10, which I am familiar with having been with it since the Beta testing days, so the fact that WF could be had in my own chosen platform was nice.
The WF package itself is about 60 MB or so, and not complex to install. The hard part was to get the needed Database where the posts are stored.
MySQL Server 5.6 is the recommended solution, and the WF site has more detailed installation instructions for it under the various Linux flavours. Very scant info on doing the same on a Windows system, so I was on my own here.
You can get the MySQL installer for Windows here. There are 32 and 64 bit versions, to suit your machine's architecture (most recent machines would use the 64 bits version)
A whole morning struggling with the MySQL syntax, and searching for how to do needed simple things like creating a database, adding a user, etc. I did not keep notes, and someday I might try this process in another machine – this time to document it, with notes and screenshots.
A good guide on how to do this would be priceless, as there isn't one as far as I know (certainly none is present or linked at the Write Freely documentation pages.
While searching for links for this page, I just found an interesting and very detailed tutorial – about how to install MySQL Server 5.6 under Windows 10 – bookmarking it for reference and for the page readers. Recommended!
Why run a personal Instance of Write.Freely?
The main motivation was the fact that I could run it on my normal working laptop, natively. And the fact all this could be done without needing a live internet connection.
Plus, a big factor, the fact that I can do edits and previews at lightning speed – the page loads are instant. A good thing when I am doing a final pass and polishing text, fixing and enhancing wording and formatting, etc.
When finished, the page is exactly the same as it will be when copied and pasted at the live internet host – since we are using exactly the same platform.
Being created locally, these pages also remain as a backup of all the work I produce in this machine, which is basically all of the blog posts (besides many other things).
So – speed, convenience, quick editing, full backup and identical page rendering.
Where are we at?
Presently writing this in MarkText, which will soon have a full fledged page.
When complete, I will switch to 'Source Mode', and copy the raw markdown text, for pasting into the local WF blog editor.
A quick check and any little fixes if needed, and soon another copy paste into the live internet hosts for the pages (I have two blogs with different themes and hosted in different WriteFreely instances).
Recently I updated my local install to the most current WF version, 0.12, and was really glad that contrary to my fears, there was no angst dealing with MySQL server – no issues, I did not touch it or the database, yey!
Famous Last Words
I wanted to thank my friend João Pinheiro for his interest in my previous post about MarkText, and for trying it and posting a nice blog review of his whole experience.
Big thank yous to the creators of our various software packages, which I use all the time for my writing and publishing work:
- Write.as, the creators of the wonderful Write.Freely blog platform.
- MarkText, which is also turning quickly into an essential tool for me.
- IrfanView, my simple and powerful image editor.
- MySQL Server free Community edition, which powers and stores all my local writing here.

@rgx@write.tedomum.net
This page created entirely in MarkDown language. Thank you for reading, feel free to comment about this post – reach me at my Writer's Lounge.
 R.G.
R.G.